2020 Design Tutorial - How to Color Match Items in a Kitchen Design
Share
By Antonio Simpson, Sr Marketing & Consulting Associate, Stone Marketing & Consulting
In this tutorial we show how to change the finish color of a wood range hood from one catalog to match the finish color of cabinetry from another catalog. This method can be applied to any items in a kitchen design including crown molding, floating shelves, island x-panels, and more.
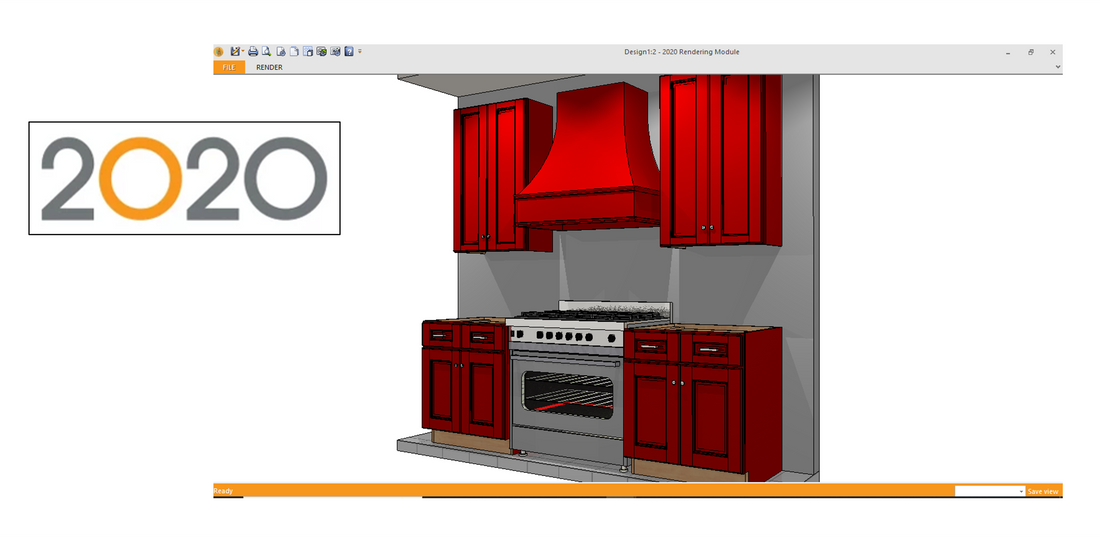
In the screenshot below, a range hood from one manufacturer is placed in a kitchen design with cabinetry from a different manufacturer. We want the hood to match the cabinetry, but it appears in a ‘stock white’ color. How do we fix this?

Steps:
First, click on any cabinet that is in the color you want displayed. Then go into ‘Attributes’.

In ‘Attributes’, click on the ‘Variables’ tab to find the name of the color. Click on the colored square to the right of the window.

This will bring you to ‘Textures’. Take note of the category and the specific color code, then close the window.

Now, switch to the ‘Layout’ and select the hood.

Open ‘Attributes’ and click on the ‘Variables’ tab. Scroll down to find the section(s) of the hood needing a color change. Click on the color box on the right to open the ‘Textures’ window.

On the left side of the ‘Textures’ window, click on ‘Paint’ to open the drop down list. For this finish click ‘Generic’, then click ‘Pink/Red’, then click ‘Flat’. Scroll down to the desired color and click on it to select it.

With the correct color highlighted, click ‘OK’.

Repeat this process for each section of the hood as necessary. For this hood, there were two sections that needed changing.

Here all appropriate boxes are chosen and changed.

Open the rendering to be sure all the needed changes were made.

Well done!
2020 is a trademark of 20-20 Technologies Inc
